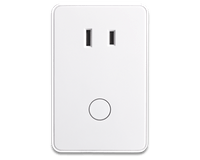
Installing Your Smart Plug
Your Smart Plug works with any standard outlet, making it into a smart home device that you can turn on and off remotely, through your control panel or mobile app.
Installation Parts
- Your outlet plug is all you need.
Choose a location
You can plug it into any regular indoor outlet, to help you control lamps, electronics, small appliances, space heaters, fans, and more.
It’s best to avoid placing it in high-traffic areas, where it can be accidentally damaged, or in areas with high humidity.
Installation Instructions
Your Smart Plug has already been connected and paired to your panel.
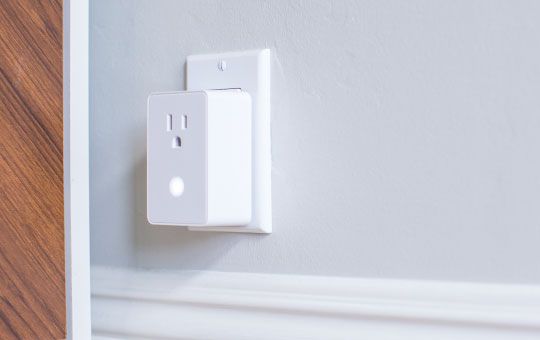
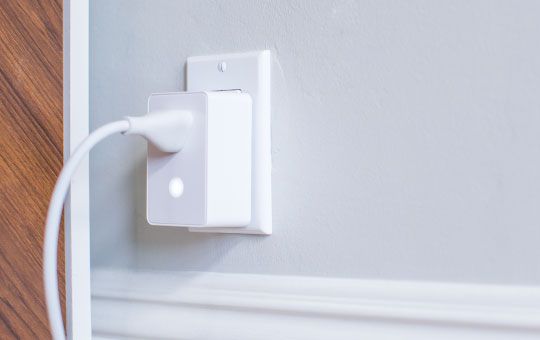
Simply plug your Smart Outlet into your chosen outlet, then plug in your chosen device.
Testing the outlet plug
- Once you’ve plugged in your outlet plug and its device, scroll in your panel and you should see your plug and icon in the lights section.
- Test the outlet plug by turning it on and off in your panel, and see if the appliance that’s plugged in does the same thing. The device also needs to be left in the “ON” position.
Controlling your device
After your panel recognizes your Smart Plug, you can customize any of the fields you’d like in the default device information.
You’ll be able to turn your plug on and off using your panel and mobile app.
You can also create rules based on events (e.g. turn on outlet when a door opens) or a schedule (e.g. turn off outlet after 10 p.m.) in your web account or mobile app.
-
To create an event-based rule, log into your web account or open your mobile app.
- Go to Automation
- Click Add New Rule
- Select Event-triggered Rule
- Create a rule based on your desired criteria.
-
To create a schedule, log into your web account or open your mobile app.
- Go to Automation
- Click Schedules
- Select Add New Schedule
- Select Light Schedule
- Set your schedule as desired.