Installing Your Smart Gateway
Smart Gateway Install Guide PDF
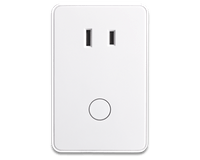
The Smart Gateway provides a dedicated Wi-Fi network for the indoor cameras in your A3 Smart Home system.
By plugging into your existing internet router, your camera will no longer lose connectivity if your WiFi password or settings change.
This device comes pre-configured to your camera, so you don’t have to worry about individually adding it.
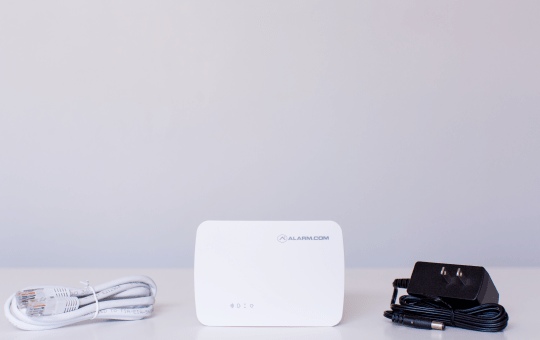
Installation Parts
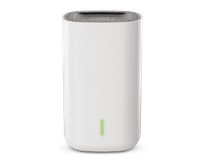
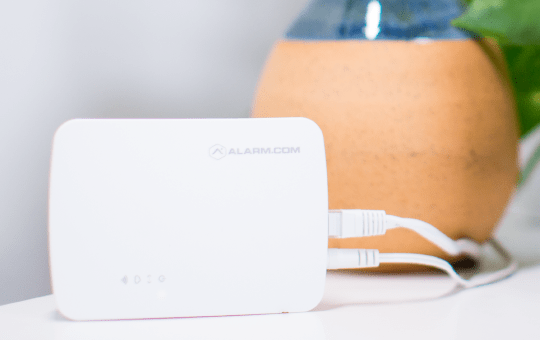
- Your Smart Gateway (included)
- Ethernet cable (included)
- 12 VDC power adaptor (included)
What you’ll need
- An existing router with broadband (Cable, DSL, or Fiber Optic) internet connection and an open Ethernet port
- Paperclip (optional, for troubleshooting only)
Choose your location
To get the best Wi-Fi performance, place your device on top of a table or in another location free from physical obstructions. The device’s range matches or exceeds most typical home routers.
Installation Instructions
Your Smart Gateway has already been connected to your online account, and paired with any indoor cameras you have ordered.
All you’ll need to do is plug in this device into any wall outlet and connect to an existing router.
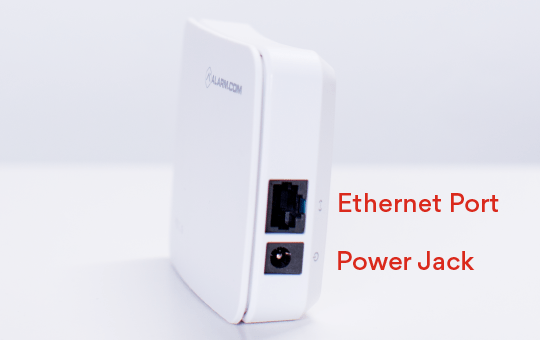
- Use the Ethernet cable provided to connect your device to an open Ethernet (RJ-45) port on an existing internet router.
- Connect the device’s power adaptor and plug it in to a non-switched outlet.
Tips for troubleshooting your Smart Gateway
- Check your router’s connection to the internet: If you cannot access the internet using your router, please contact your Internet Service Provider to restore Internet access. Try adding the device again.
- Perform a communication test: Press the Reset button for 1 to 3 seconds (use a paper clip or tool if necessary). The cloud-shaped Communication LED will quickly flash 5 times to indicate that the test was sent. Please wait 2 minutes before trying to use the device again.
- Power cycle: Unplug the device from power for 10 seconds and plug it back in. Wait for the Power and Communication LEDs to become solid before trying to use the device again.
- Reset: Press and hold the Reset button (pinhole, with the letter R below) for 15-20 seconds (use a paper clip or tool if necessary). All LEDs will flash simultaneously to indicate that the device will reset. Wait for the Power and Communication LEDs to become solid before trying to use the device again.