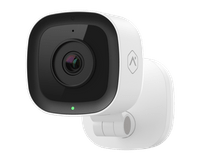
Installing Your 180° Wellness Camera
180° Wellness Camera Install Guide PDF
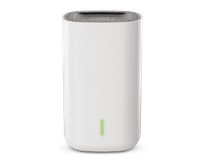
This 1080p resolution camera gives you great live views and recordings inside your home, with a 180° view to scan the whole room, plus tilt, digital pan, and enhanced zoom.
It has the availability to use audio as well, with a built-in Bluetooth speaker.
Easy-to-access viewing gives you the benefit of being able to monitor activity inside your home at any time.
Installation parts
- Indoor camera
- AC power adaptor

What you’ll need
- An active non-switched outlet within the home
- Active WiFi inside home provided by an internet service provider
- Ladder or step stool (optional)
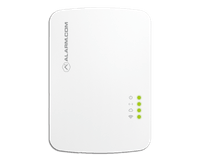
- Smart Gateway (included, and pre-configured to your camera)
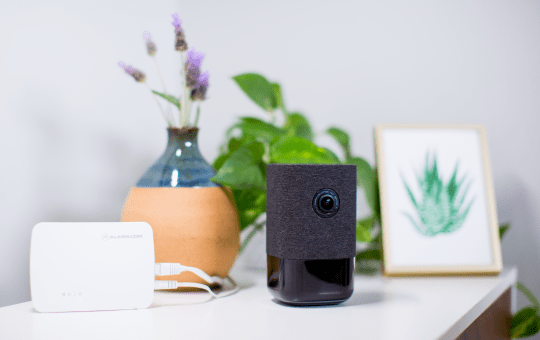
Choosing a location
The benefit to having a wireless communicating indoor camera is that the cameras are easy to move virtually anywhere. The camera is best placed in a high-up area, like a shelf allowing it to overlook a room.
Keep in mind that proximity to your WiFi does impact your camera’s quality of function, so don’t place it too far away from the router.
There is no set distance, however, as WiFi in each house can vary depending on the speed, strength, and equipment being used.
Installation instructions
1. Make sure that your Smart Gateway is powered up and connected to your router (see separate quick install guide for this device). The Gateway will provide a dedicated network for your cameras in your system.
2. Remove the camera and power cord out of the box.
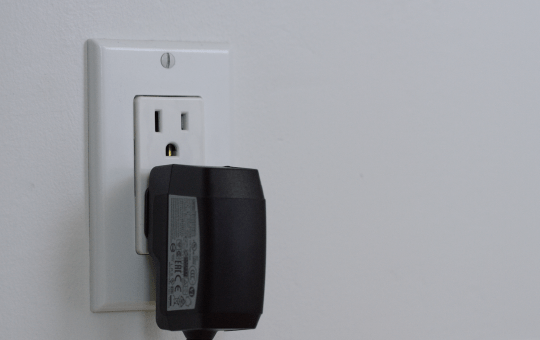
3. Attach the provided power cord to the slot located in the back of the camera.

4. Plug the camera into the designated non-switched outlet.
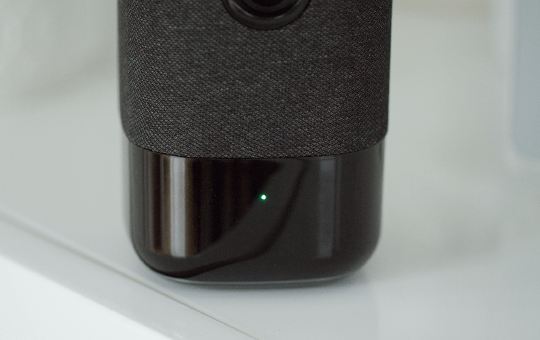
5. Place the camera in the chosen location and wait for the camera to power up. This can take up to 5 minutes.
6. Ensure the camera is fully powered up, by looking for a solid green light in front of the camera.
Testing your device
Log into your web account, go to Video in the main menu, and select the Live Video function to see the camera's functionality.
Controlling your device
Your cameras can be controlled multiple ways with multiple functions. The following list will include some different ways to use your camera(s), depending on your preference.
-
To stream the camera to your web account:
- Log into your web account
- Click Video in the main menu
- Click Settings (located in the upper middle)
- Scroll down to the second-to-last option (Stream live video to panel)
- Select the cameras you’d like to stream, or Enable all if there are multiple cameras
- Click Save.
-
To set up rules for your camera from your web account:
Note: The instructions below apply to all rules except Video Analytics, which helps detect vehicles, humans, and animals. Video Analytics are more suitable for outdoor cameras and will require additional steps. You can refer to the help section of your web account to learn more.
- Log into your web account
- Click Video
- Click Recording Rules
- Click + Add Rule
- Click to select the type of rule to create. The types of rules available depend on what is enrolled on your system (e.g., Alarm, Video Motion Detection (VMD), Sensor Opened or Closed, etc.)
- Enter a name for your recording rule
- Configure your rule settings as desired. Rule settings depend on which rule is being created
- In Video Clip Recipients, click + Add Recipient and follow the prompts if you’d like to receive notifications
- Verify the recording rule is configured with the desired settings
- Click Save.
For full capability of your indoor camera, refer to the help guide found under the “?” Symbol in the upper right hand corner of your online account, or under Support/Help documentation found in your app menu.